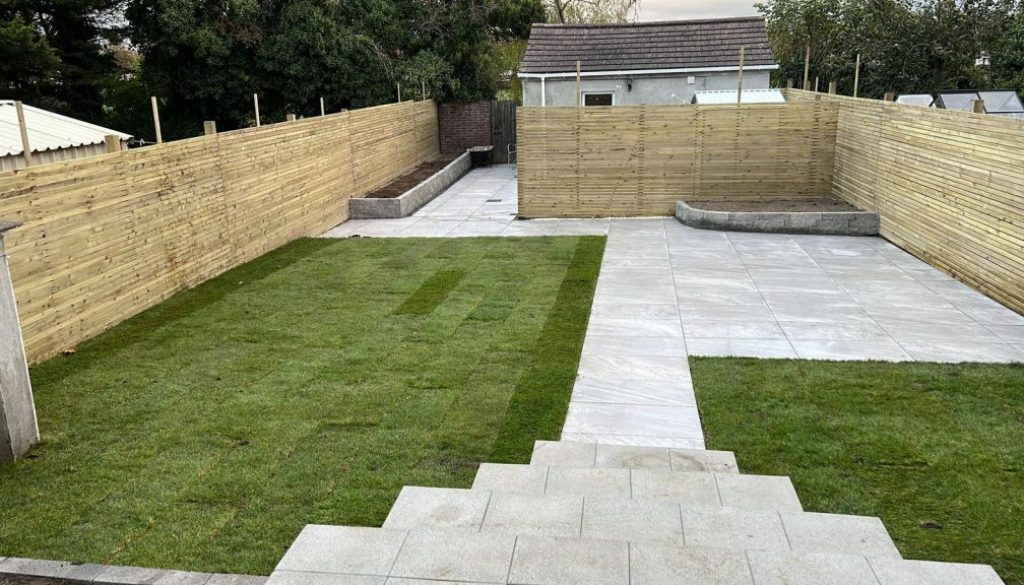
The Key Stages of Paving Installation: A Step-by-Step Guide
A well-installed driveway or patio doesn’t just look great—it also stands the test of time. Whether you’re laying paving for kerb appeal, functionality, or durability, following the correct installation process is essential.
Skipping key steps can lead to cracks, drainage issues, or shifting pavers. This guide will walk you through the essential stages of paving installation, ensuring your driveway or patio is built to last.
Planning and Site Preparation
Before you start digging, proper planning is crucial. A poorly prepared site leads to unstable paving, water pooling, and early deterioration.
How to Prepare the Site:
- Mark out the area using string lines and stakes.
- Remove any vegetation, debris, and old paving.
- Excavate the ground to the correct depth for stability (usually 150-200mm for driveways, 100-150mm for patios).
- Check for underground utilities before digging.
Tip: Ensure the area is slightly sloped to prevent water pooling.
Installing a Strong Base Foundation
The base layer is the most important part of a durable paving installation. If the base is weak, the paving will sink, crack, or become uneven over time.
Base Installation Steps:
- Add a sub-base layer – Use MOT Type 1 or crushed stone, spread evenly to a depth of 100-150mm.
- Compact thoroughly – Use a plate compactor in thin layers to create a solid foundation.
- Check for level and stability – The base should be firm and even before moving forward.
Tip: Skipping compaction will lead to shifting and instability later on!
Ensuring Proper Drainage
If water doesn’t drain properly, it can erode the base, cause pavers to shift, and lead to cracks.
How to Prevent Drainage Issues:
- Ensure a 1-2% slope away from buildings.
- Install permeable paving or drainage channels for better water flow.
- Avoid blocking natural water paths.
Tip: A professional paving company will always assess drainage before installation!
Laying the Bedding Layer
The bedding layer provides a smooth, level surface for placing pavers. It acts as a cushion between the base and the paving materials.
Steps for a Perfect Bedding Layer:
- Spread a 30-50mm layer of sharp sand or grit evenly across the base.
- Screed the sand to create a uniform level.
- Avoid walking on the sand before laying pavers to prevent uneven surfaces.
Tip: Too much or too little sand will cause pavers to move or sink over time.
Laying the Paving Material
Now for the exciting part—laying the paving stones, blocks, or slabs! Precision is key to ensuring a level, secure finish.
How to Lay Pavers Correctly:
- Start from one corner and work your way across the area.
- Lay pavers in a staggered or interlocking pattern for added strength.
- Maintain a 2-5mm gap between pavers for jointing sand.
- Use a rubber mallet to gently tap each paver into place.
Tip: Follow a structured laying pattern (e.g. herringbone for driveways, stretcher bond for patios) to improve durability.
Adding Edging Restraints
Without edging, pavers can spread, shift, or break apart over time.
How to Secure Edging:
- Use concrete kerbs, blocks, or metal strips for strong borders.
- Secure edges with mortar or a sand-cement mix.
- Ensure edging sits flush with the paving surface.
Tip: Proper edging keeps your paving intact and structured for years to come.
Jointing and Filling Gaps
Once the pavers are laid, the joints need to be filled and stabilised to prevent movement, weed growth, and water damage.
Best Jointing Techniques:
- Use kiln-dried sand for block paving (brush into gaps and compact).
- Apply a resin or cement-based grout for paving slabs.
- Refill joints after heavy rain to maintain stability.
Tip: Sealing the joints helps prevent weeds and erosion.
Compacting the Surface
After jointing, the paving surface needs final compaction to ensure a firm and even finish.
How to Compact Paving Properly:
- Use a plate compactor (with a rubber mat for delicate stones).
- Compact gently and evenly to avoid damaging pavers.
- Check for loose or uneven areas and re-compact if needed.
Tip: Compacting secures the pavers in place and prevents future movement.
Sealing for Protection and Longevity
Sealing protects paving from stains, moisture, and weather damage, keeping it looking new for longer.
Why Sealing is Important:
- Prevents water penetration and frost damage.
- Reduces stains from oil, dirt, and moss.
- Enhances the colour and finish of paving.
Tip: Choose a breathable, UV-resistant sealer for long-lasting protection.
Regular Maintenance for Long-Term Durability
Paving needs ongoing care to maintain its strength and appearance.
Simple Maintenance Tips:
- Sweep and wash the surface regularly.
- Reapply jointing sand annually to keep pavers stable.
- Remove weeds and moss before they spread.
- Inspect for cracks and repair early to prevent bigger issues.
Tip: A well-maintained driveway or patio can last 20+ years with proper care!
Paving Done Right
By following these essential paving installation steps, you ensure a durable, professional-looking driveway or patio.
Key Takeaways for a Successful Paving Project:
- Prepare the site properly for a solid foundation.
- Use the right base materials and compact them thoroughly.
- Plan for drainage to prevent water damage.
- Follow correct laying techniques for a flawless finish.
- Maintain and seal your paving for long-term durability.
A properly installed surface will enhance your property’s value and last for years to come.
Get Professional Paving Installation – Free Quote Available!
Want a hassle-free, expertly installed driveway or patio? Contact us today for a free, no-obligation quote and let our professionals handle your paving project!


